
Turning a 1970s Carport into a Greenhouse: My First Big Build

Reduce, Reuse, Recycle.
When I bought my 1930s house, I inherited an old, unsafe carport attachment built in the 1970s. It was tall, shaky, and didn’t pass muster with my insurance company, which meant one thing—it had to come down. With the help of my brother-in-law, we dismantled the carport, leaving behind a pile of old 2x4s that, despite their age, had potential.
I’d always dreamed of having a greenhouse, and with a pile of reclaimed wood in hand, the opportunity seemed perfect. Here’s how I transformed that rickety carport into a charming greenhouse for my garden.
Check out my blog post on the five things I learned to grow the perfect onion crop!
Step 1: Planning and Framing
The first step was to measure out the space and draw up some simple plans. I wanted something functional but not overly complicated since I’m not a professional builder. Using the old 2x4s, I framed out the greenhouse structure. The wood was sturdy enough to provide a solid frame and gave the project a nice rustic touch. I really like the look of a bold black with light wood, I ended up painting the greenhouse frame with a matte black paint.


Step 2: Siding and Walls
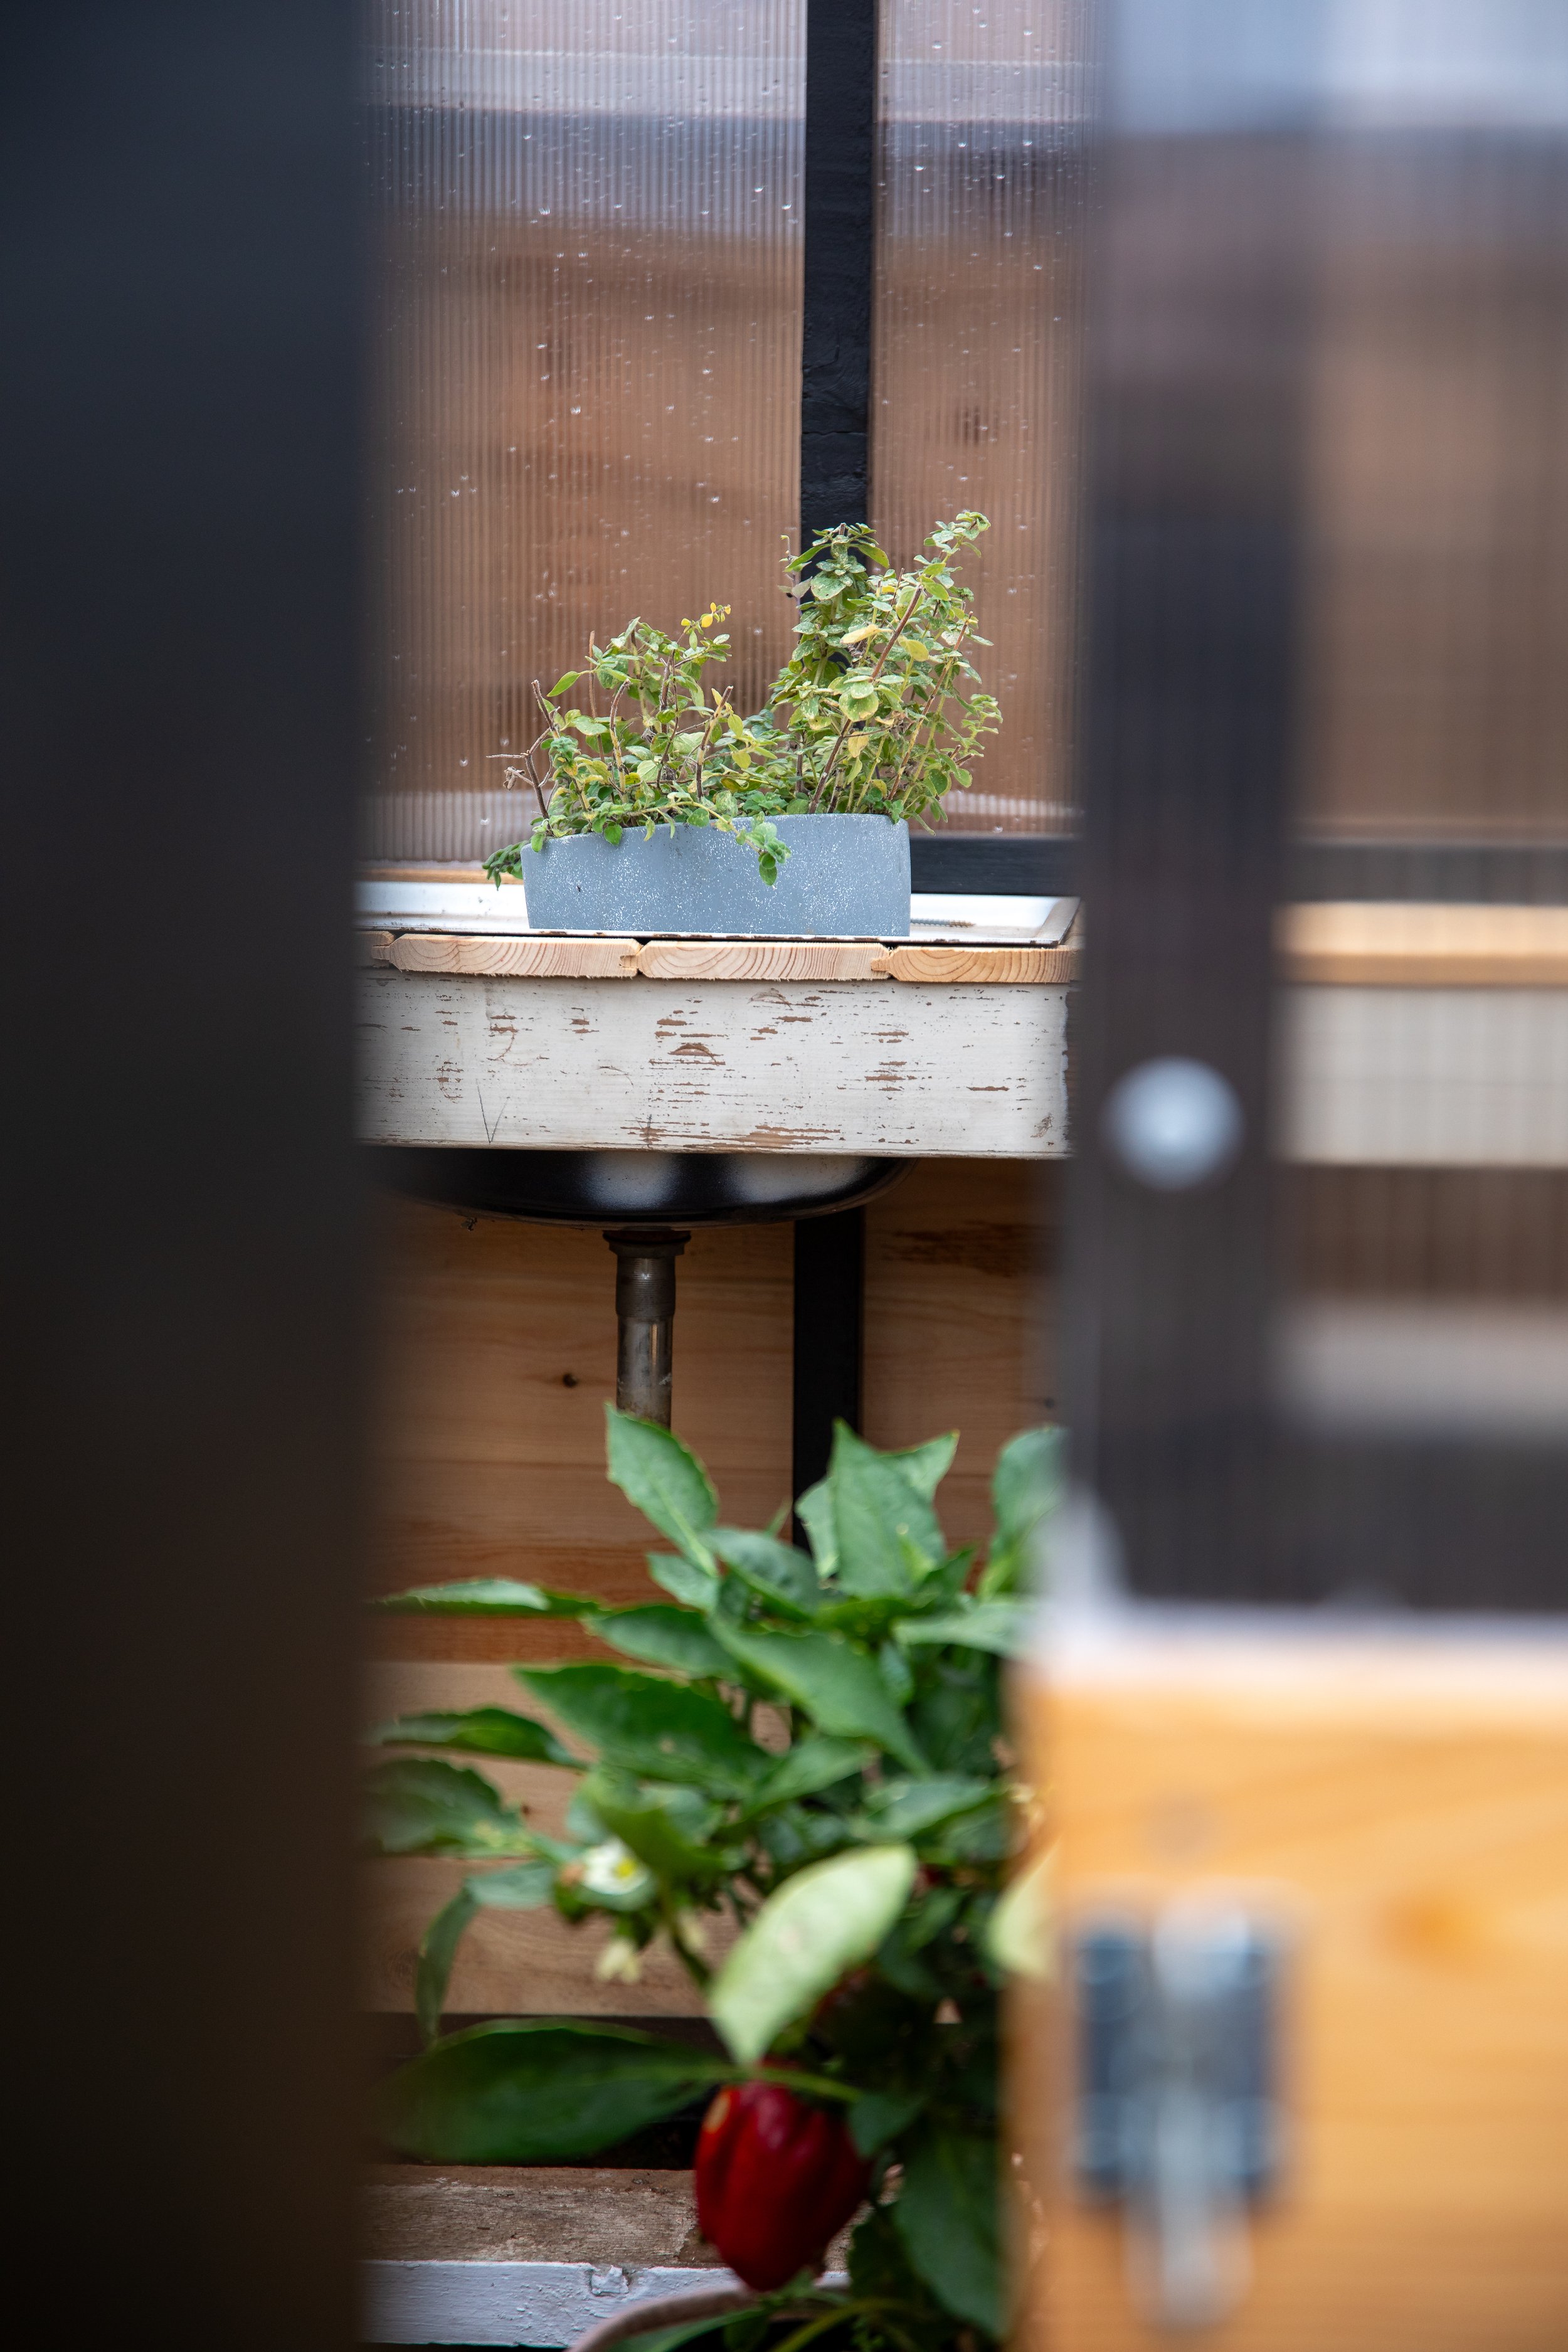
For the lower third of the walls, I chose shiplap siding. It added a classic look and provided a stable base for the greenhouse. Above the shiplap, I installed polycarbonate sheets for the walls and clear ridged polycarbonate for the roof to let in plenty of light.
Here’s what I learned about working with polycarbonate:
Breathable tape: Apply this to the top and bottom of the sheets. It allows air and moisture to escape, preventing fogging in the channels.
Pre-drill holes: Before securing the sheets with roofing screws and washers, drill holes slightly larger than the screws to accommodate expansion and contraction.
Seal the seams: Where the polycarbonate sheets met the shiplap, I used silicone to create a waterproof barrier.


Step 3: Roof and Finishing Touches
The clear polycarbonate roof was both practical and aesthetically pleasing. It provides natural light while keeping the structure weatherproof. I used U-track from the shiplap to secure the panels, making the assembly smoother.
While the greenhouse isn’t perfect—it might remind you of Homer Simpson’s birdhouse—it has charm, and I’m proud of it. It’s functional, inviting, and makes a delightful addition to my garden area.


Ongoing Projects
The greenhouse is nearly complete, but I have a few finishing touches planned. Using bricks, I’m creating a pathway in front to tie it into the garden. Unfortunately, winter arrived before I could finish, so that’s a project for spring.
Tips for Aspiring DIYers
If you’re thinking of tackling a greenhouse project like this, here are my takeaways:
Reuse materials: Salvaged wood from the carport kept costs low and gave the greenhouse a unique character.
Research and learn: Understanding materials like polycarbonate and the techniques for installing them made a big difference.
Embrace imperfections: DIY projects don’t have to be flawless to be beautiful or functional.
My greenhouse isn’t just a structure; it’s a testament to creativity, learning, and turning something unsafe into something useful. If I can do it, so can you!